So here’s the story of our Tsoureki (Greek Sweet Bread), we wouldn’t call ourselves “bakers” in any sense of the word. When we do bake it’s more in a way to feed our sweet tooth cravings of luxurious desserts but with healthier ingredients like in our Chickpea Blondies and Peanut Butter Swirl Brownies. So when we, meaning myself Alexa and my husband Pantelis, moved away from home for the 2nd time we were forced into learning how to make family Greek recipes that we had never attempted before because our family members made them.
Case in point, Tsoureki. A sweet bread that my mother-in-law Anna perfected from her mother’s recipe. So for every holiday, Anna makes enough Tsoureki bread for every family member to have multiple loaves. Therefore there has never been a need for us to make it. Now, in our second year of living in Atlanta, we decided it was time for us to try and perfect this bread recipe. EASIER SAID THAN DONE! Needless to say, we spent all day working on the recipe and it was a flop! So we decided we would come up with our own recipe that was smaller in portion size (2 loaves vs. 5) and used lesser amounts of unhealthy ingredients (like butter and sugar). But this recipe is by no means “healthy” but it’s a traditional bread that we love and only indulge in on holidays, it’s all about balance!
To make Tsoureki in our own way we did a lot of research in our Greek cookbooks and other bloggers that we love. In doing this we came across Bella’s recipe from Ful-filled.com that used a Roux.
Advertisement
What is a Roux?
A roux is a mixture used in baking bread to make it fluffy and soft. It’s similar to a Japanese technique known as Tangzhong. The job of the roux is to help retain moisture during and after baking.
Note, it’s a very quick process! You can’t start making the roux and then start doing something else or it will ruin. To make the roux, combine 2 tablespoons of all-purpose flour with 5 tablespoons of milk in a small saucepan over medium heat. Stir constantly with a whisk… really stir constantly! Once you feel the mixture starts to thicken remove it from the heat immediately and continue to whisk until it turns into a thick paste. Then scoop it into a small bowl and cover it with plastic wrap. You want the plastic wrap to physically be on the paste so that a film does not form on the top. Set it aside to cool.
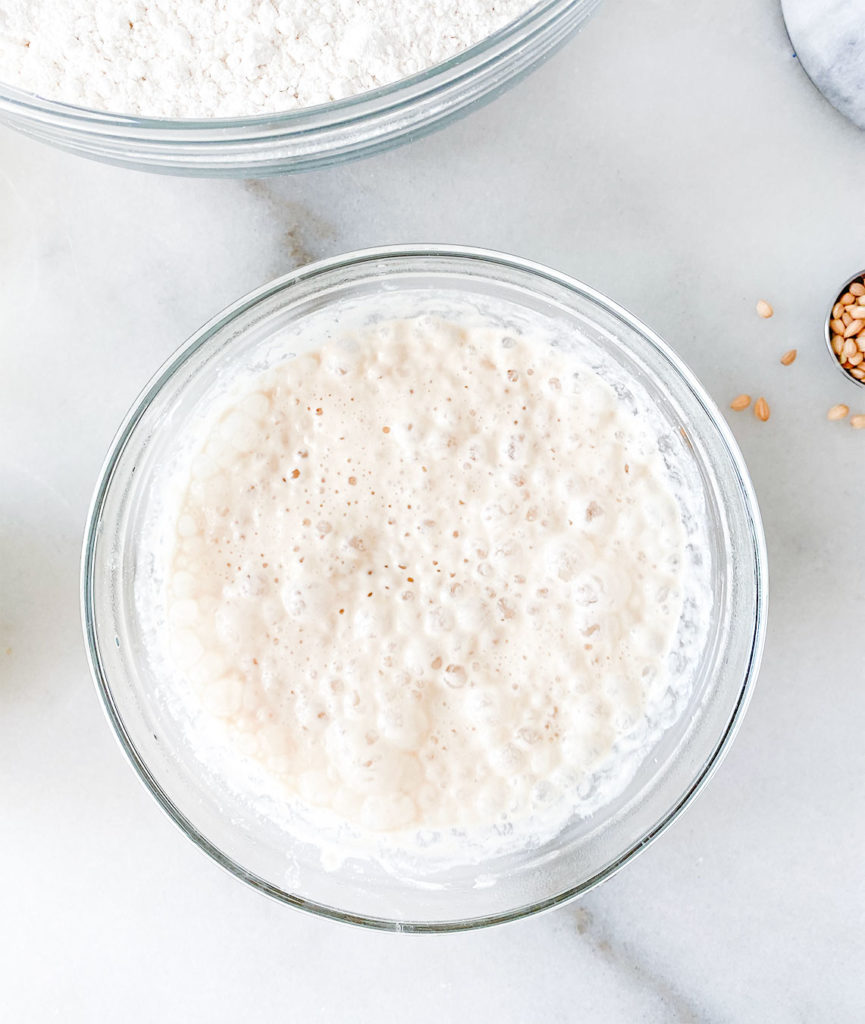
Activating the Yeast
The process of activating the yeast is important and takes a little bit of time. Combine all of the ingredients to make the yeast mixture in a small bowl and whisk together. Cover with plastic wrap and a kitchen towel and set in a warm spot to activate for 20-30 minutes. The mixture should double in size and you’ll know it’s activated because it becomes thick and bubbly. If this does not happen then your yeast is bad and you need to make the mixture over again.
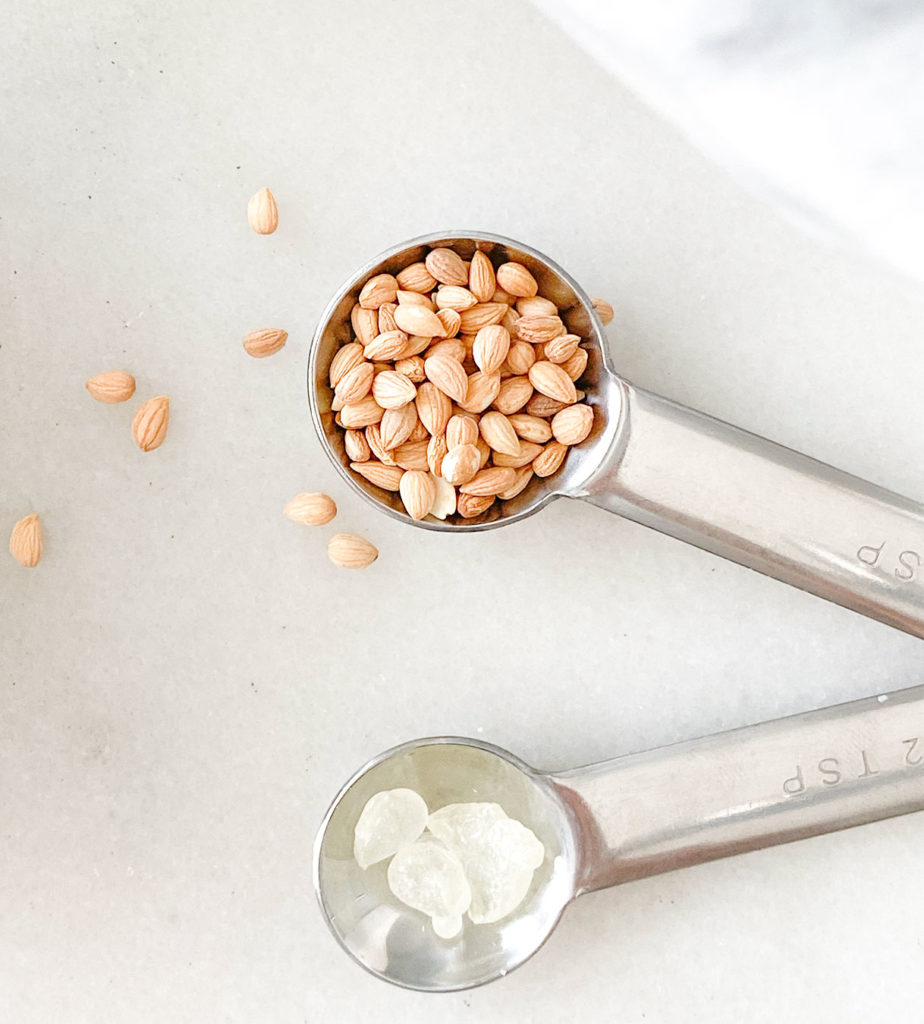
Mahlepi
Mahlepi, also known as Mahlab, is a cherry pit that can be found in kernel form or ground. It’s very fragrant and gives the bread a wonderfully distinct flavor (a mix between rose and almond). We use the kernels and grind them ourselves. But be sure not to add too much or it will have a bitter taste. You can find Mahlepi at your local Mediterranean food store.
Mastiha
Mastic gum comes from trees grown on the island of Xios, Greece (the island my husband’s family is from). It also has amazing health benefits for the digestion system, liver, teeth and more! It’s typically found in rock form and easily ground into powder form for our purposes. You can also find Mastiha at your local Mediterranean food store.

To make the spice mix add the malhepi seeds, mastiha and sugar to a mortar and pestle. Pound /grind until a powder is formed. Alternatively if you have a coffee grinder you can use that instead of a mortar and pestle.
Making the Dough
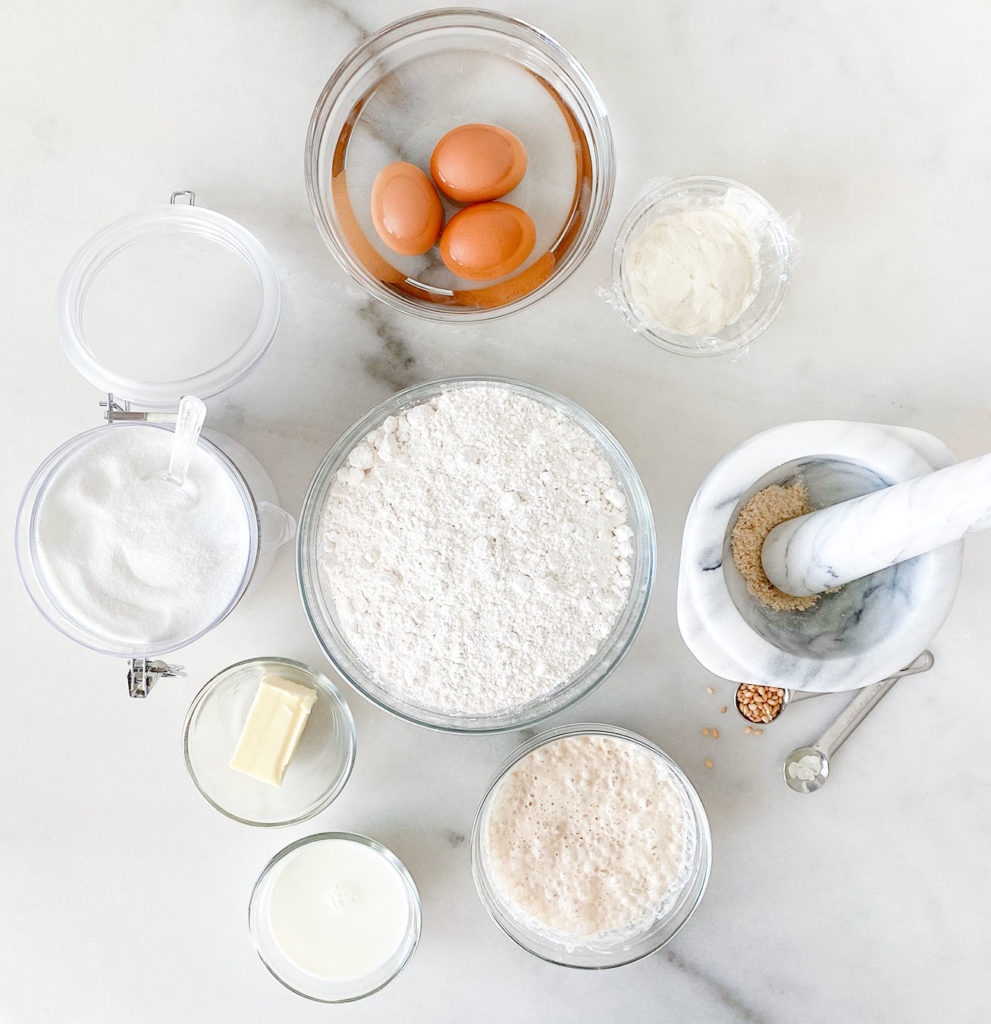
- Roux
- Spice mixture
- Activated yeast mixture
- Milk
- Butter
- Flour
- Sugar
- Eggs
At this point you have the yeast activated, roux made and cooled, and spices ground. Prepare a large area on a table or countertop to bring it all together to make the dough. You’ll need a mixer, you could do this all by hand, but for beginners we recommend using a mixer! On a stovetop or microwave heat up the butter and milk together until butter is melted and rest until lukewarm. You should be able to stick your finger in the mix for 5 seconds without having to pull your finger out because it’s too hot.
Crack the 3 room temperature eggs into the mixer and beat using the whisk attachment until it starts to get fluffy. Keep the mixer mixing and add in the sugar together. Change to the beater attachment on your mixer and start adding in the rest of the ingredients, slowly stream in the butter/milk mixture, the yeast, the roux, and finally the spices. Be sure to keep the mixer on a low speed!
Start adding in the flour 1 cup at a time. Once the dough starts to form you can switch to the bread hook attachment (we did this after 3 cups). As you are adding in the flour pay attention to the consistency. It needs to be sticky but able to release when you stick your finger in it as well as stick to the bread hook attachment but pull away from the sides of the mixing bowl (this will be around 5-6 cups).
Once it hits this consistency you can move to a flat surface to finish kneading. You can lay down a very tiny amount of flour to prevent the dough from sticking to the surface but resist the urge to add more flour! The dough should form a tacky yet smooth ball, if it’s sticking to your hands add just a pinch of flour to help get the dough off of your hands. CAUTION: you don’t want to lose the tackiness of the dough!
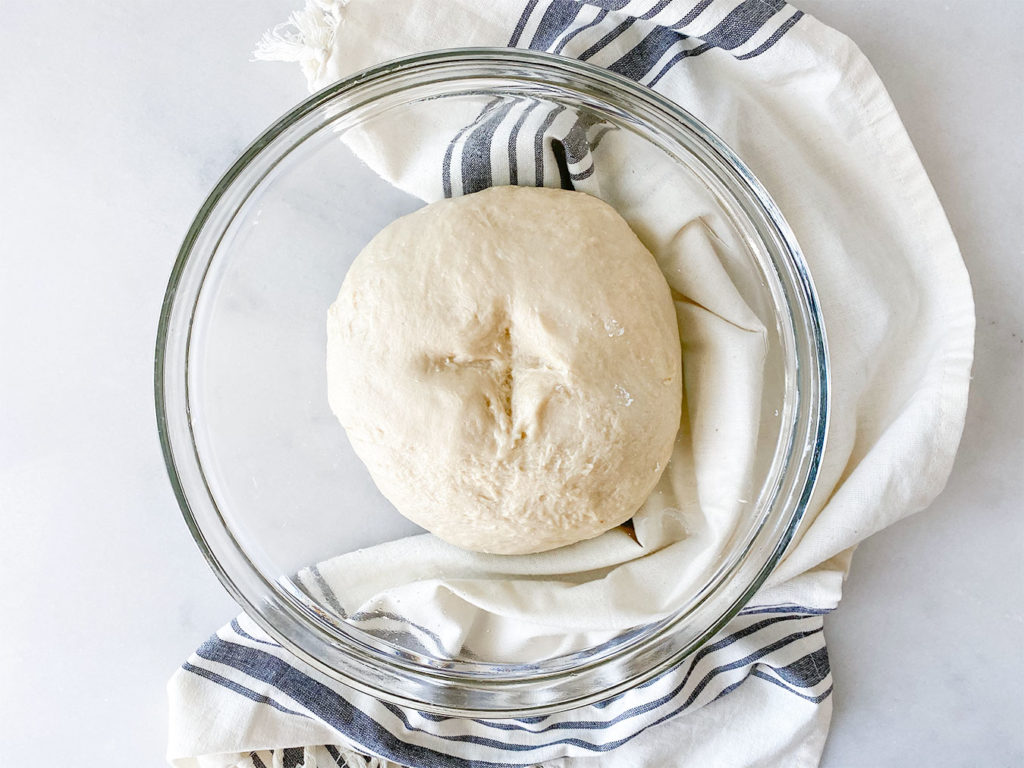
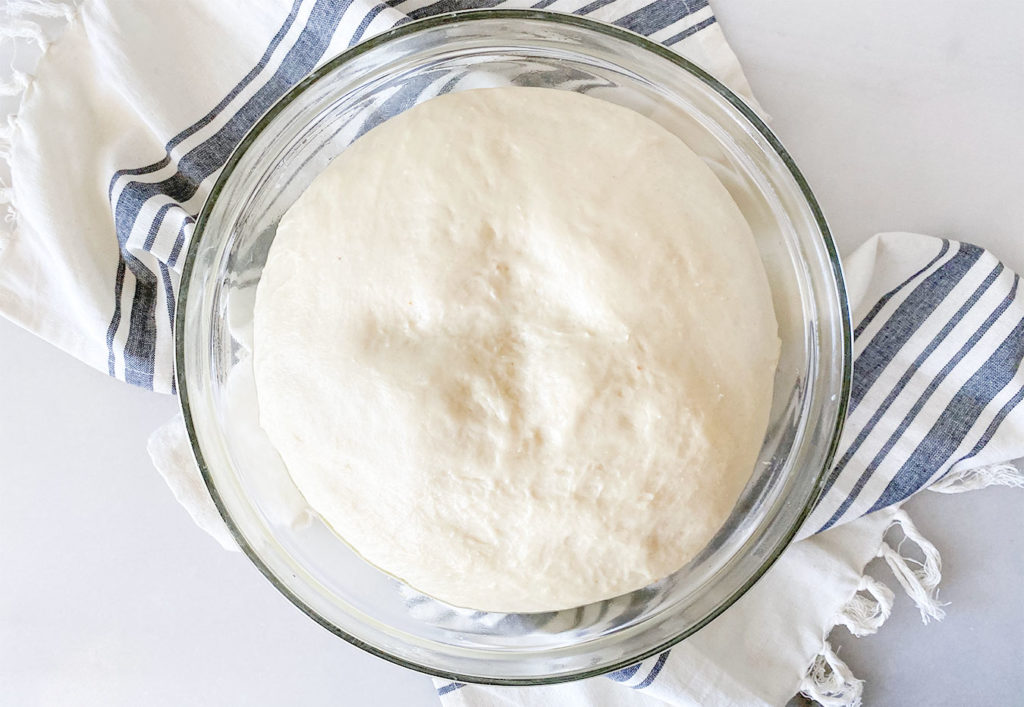
Transfer to a large bowl coated with olive oil and knead the dough in the bowl so that the oil gets incorporated into the dough. As our family tradition to celebrate our Greek Orthodox faith, we form a small cross on the top of the dough and do the sign of the cross. Now, cover the bowl with plastic wrap and place a kitchen towel on top. Place dough in a warm place to proof (we turn our oven on and let it reach 100 degrees and turn it off before placing the dough inside). This process will take about 2-3 hours or until the dough has doubled in size.
How to braid Tsoureki
There are many different ways you can shape and braid your Tsoureki. Some people get really creative with this step (like this cross!)! For this example we used the classic 3 braid which represents the Holy Trinity. Once your dough has proofed and doubled in size divide it into 2 halves and set one half back in the bowl and cover with a kitchen towel and set aside. Now divide the 1st half into 3 even pieces. You can use a scale for this step if you’d like. These 3 pieces will become the “ropes” of the braid.
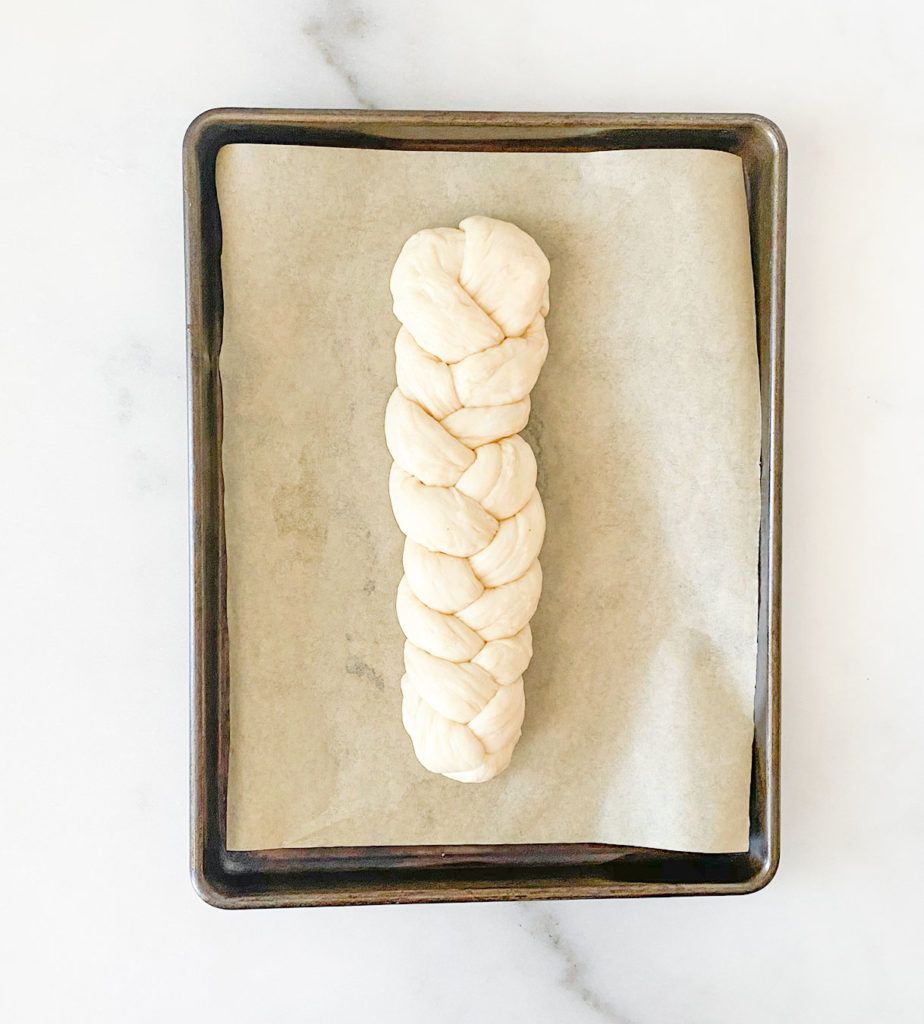
On a flat surface start gently pulling each piece into the desired length for your braid. Use more of a pulling action than a rolling/kneading action to keep the dough fluffy and airy when baking. Lay the 3 ropes vertically parallel on your surface and attach the 3 ropes together at the top. To start the braid take the far right rope and cross it over the center rope. Next, take the far left rope and cross it over the center rope. Try to keep the braid tight and work gently. It’s basically the same process as if you were braiding hair. Continue to cross the rope until you reach the bottom and the braid has formed. Tuck the ends under for a clean finish at the bottom and top of the braid.
Gently lift the braid and place it on a parchment-lined baking sheet. You can also lightly grease the parchment with olive oil. Repeat these steps with the 2nd half of dough so that you have 2 braided loaves. Cover each loaf with a kitchen towel and set aside in a warm place to rise again. You want the braids to double in size, which could take anywhere from 1-2 hours or longer.
Whew, you made it… You’re ready to bake!
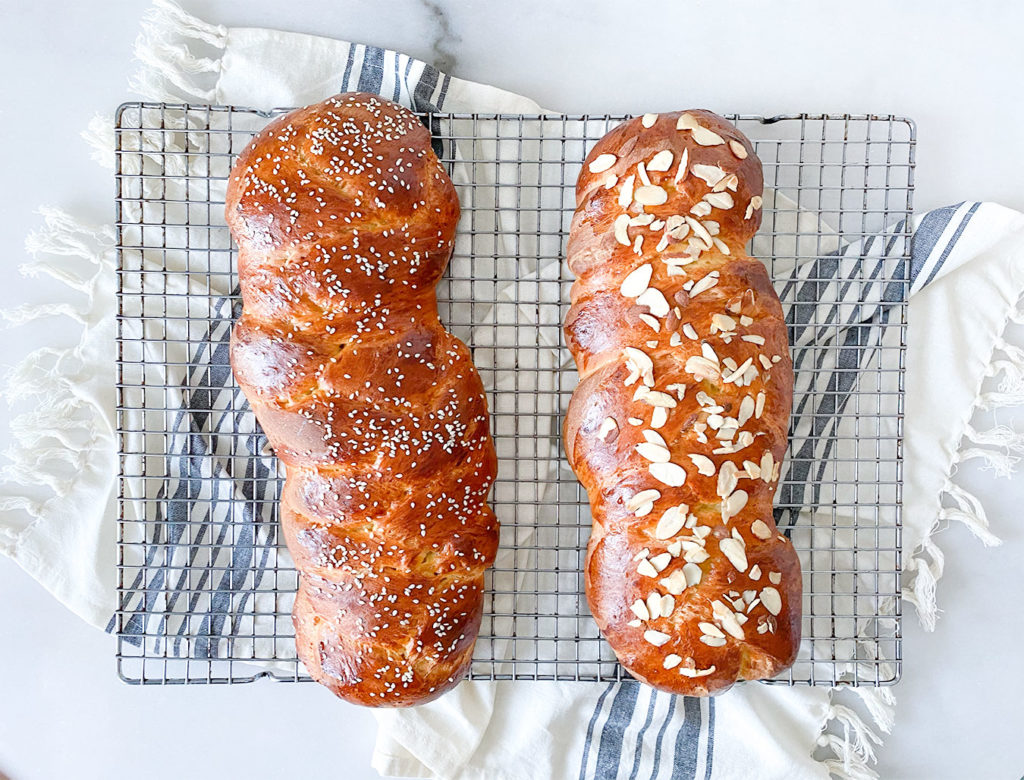
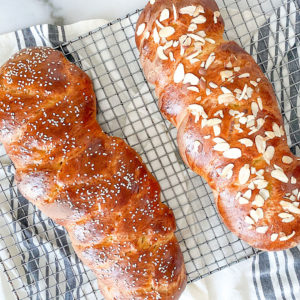
Once the braids have doubled in size they are ready to bake! Preheat the oven to 325 degrees F. You want to bake 1 loaf at a time. Gently brush each braid with an egg wash made from 1 egg and 1 tablespoon of milk whisked together. At this point you can top with sesame seeds and/or almond slices which is optional. Place the baking sheet on the middle rack of the oven. You could also add a small pan of water on a rack underneath the bread to create some steam. Bake for 30 minutes until the bread is golden brown. Remove from the oven and place the loaf on a cooling rack. Keep in mind that the bread will continue to darken as it cools. Allow to cool completely and then slice!
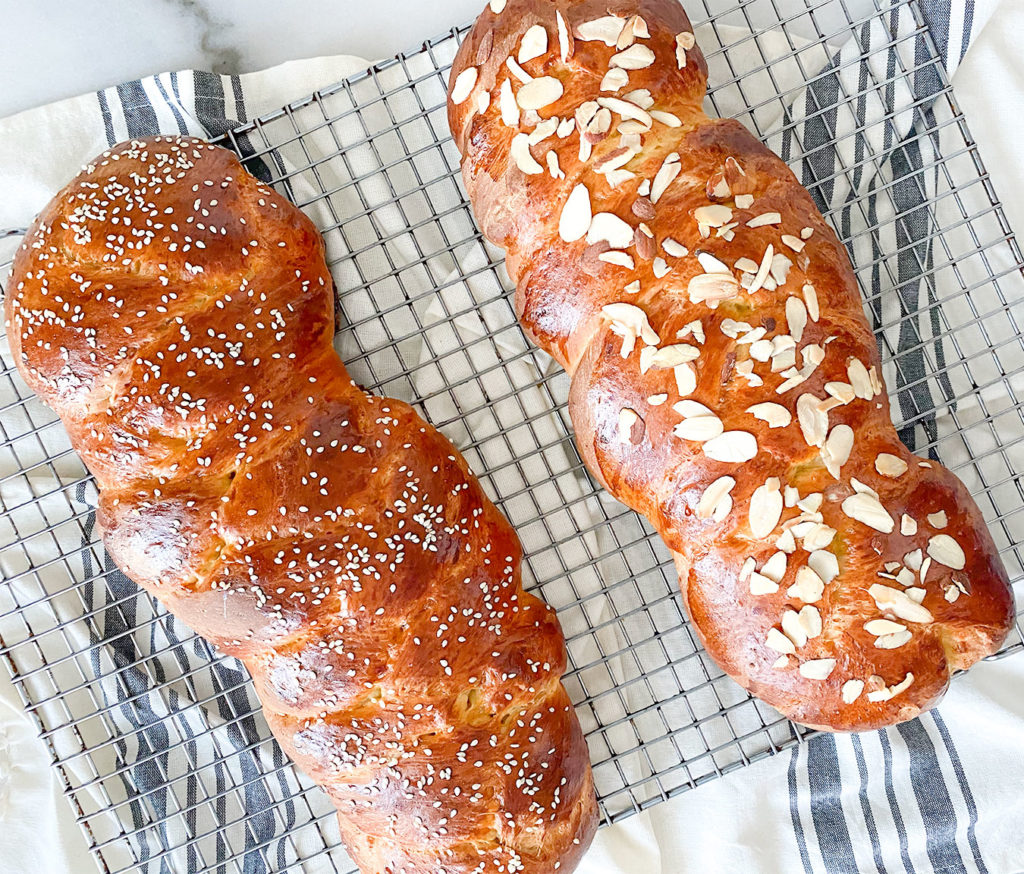
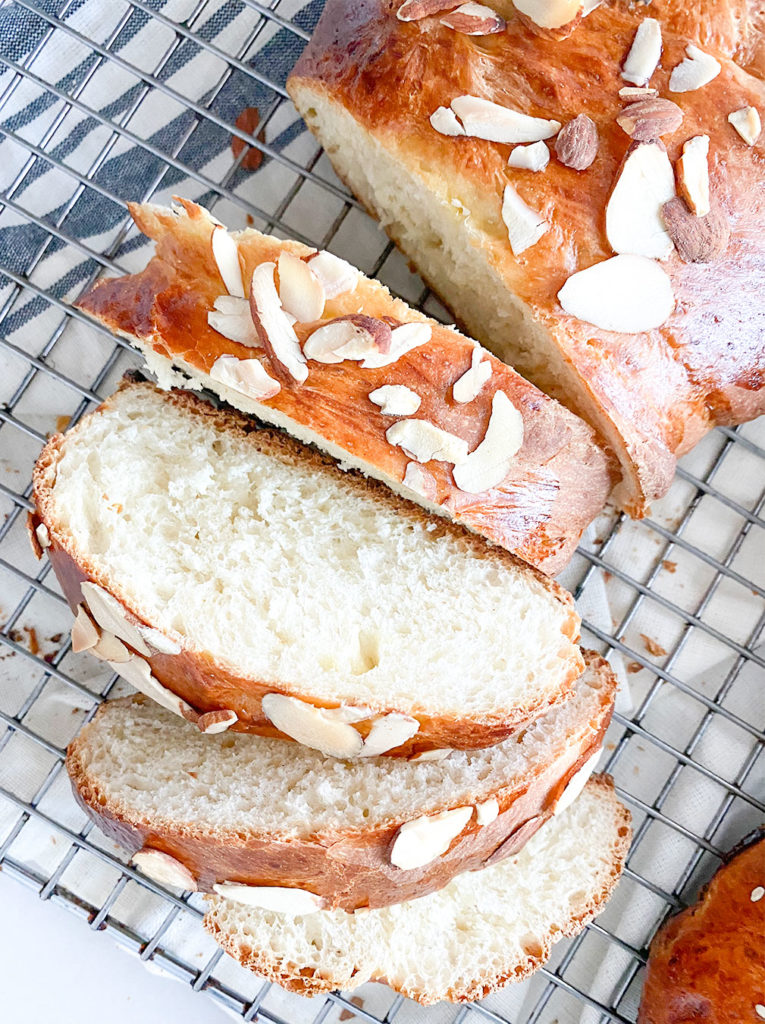
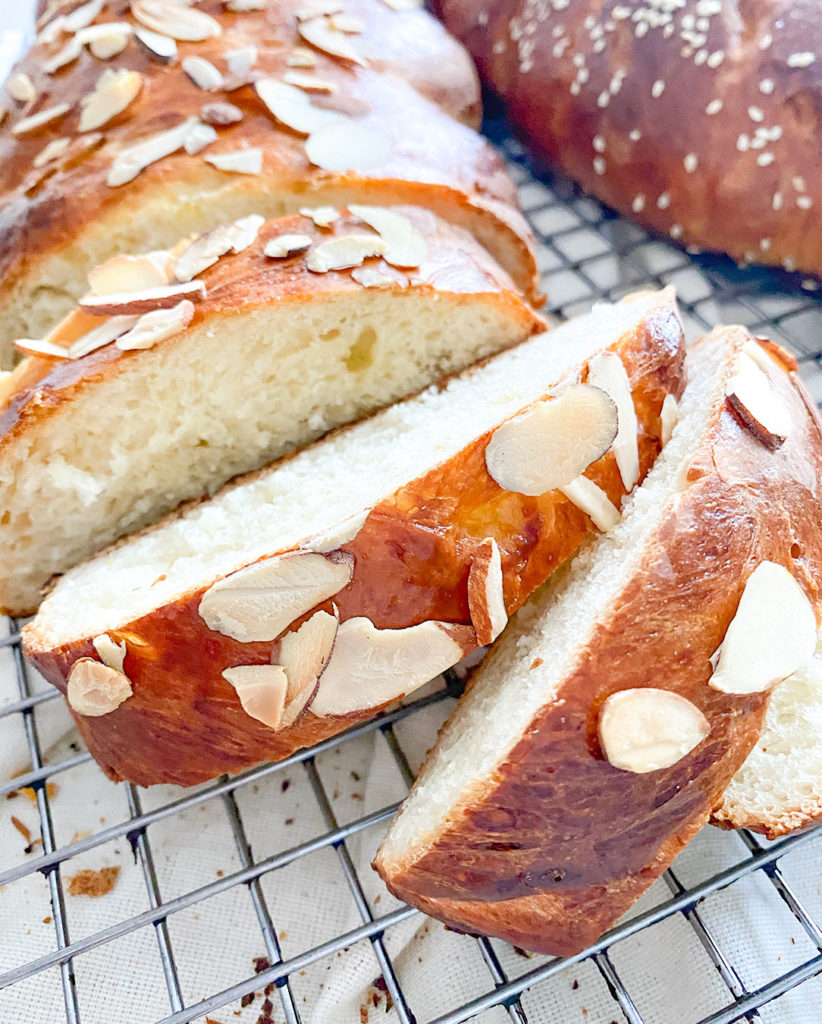
The finished bread will have a light golden crust on top and be airy and fluffy in the middle. Enjoy with a cup of coffee as an after-dinner treat or along with your meal anyway you eat it this bread is delicious! Our families devour it and we’re sure your family will too!
Tell us about your experience with Tsoureki in the comment section below, whether it’s making it yourself, a fond memory or tradition your family has. We love how Greek food and holidays bring together Greeks from all over the globe in sharing our food and stories!
Tsoureki Greek Sweet Bread
Ingredients
Yeast starter:
- 1/2 cup lukewarm water
- 1 packet of dry yeast 1/4 oz/7g
- 1 tsp sugar
- 1 tsp all purpose flour
Roux:
- 2 tbsp flour
- 5 tbsp milk
Spice Mix:
- 1½ tsp Whole Malhepi “mahlab” seeds
- ½ tsp Whole mastic gum
- 1/2 tsp sugar
Dough:
- 3 in eggs – room temperature set in a small bowl and cover with warm water
- 8 cups all purpose flour
- 1½ cups sugar
- 3/4 cup milk
- 1/2 stick butter (4 tbsp)
- 1/2 tsp salt
Egg wash:
- 1 egg
- 1 tbsp milk
Instructions
Yeast starter:
- Combine all ingredients in a small bowl and whisk together.
- Cover with plastic wrap and set in a warm spot to activate for 20-30 minutes.
Roux:
- Heat a small saucepan over medium-high heat.
- Add the flour and milk and stir constantly with a whisk.
- Once you feel the moisture start to thicken pull it off of the heat and whisk fast. It should turn into a thick smooth paste.
- Immediately scoop out the mixture into a small bowl and cover with plastic wrap. You want the plastic wrap to physically be touching the roux so that a film does not form. NOTE This process is fast, do not set the pan on the heat and then walk away, have everything you need set out ahead of time to work quickly.
- Set aside too cool.
Spice Mix:
- Add to a mortar and pestle and pound /grind until a powder forms. You could alternatively put all ingredients in a coffee grinder.
Dough:
- On a stovetop or microwave heat up the butter and milk together until butter is melted and rest until lukewarm, you should be able to stick your finger in the mix for 5 seconds without it being too hot.
- In a mixer crack 3 whole eggs and beat using the whisk attachment until it starts to bubble and get fluffy.
- Keep the mixture mixing and add in the sugar and cream together.
- Change the mixture to the beater attachment and start adding in the rest of the ingredients.
- Slowly stream in the butter/milk mixture, the yeast, the roux, then the spices, keeping the mixer on a low speed.
- Start adding in the flour 1 cup at a time, once the dough starts to form you can switch to the bread hook attachment. As you are adding in the flour pay attention to the consistency, it needs to be sticky but able to release when you stick your finger in it as well as pull away from the sides of the mixing bowl. Once it hits this consistency you can move to counter space to finish kneading.
- The dough should form a tacky yet smooth ball, resist the urge to add more flour but if the dough is too sticky and sticking to your hands add just a touch of flour to help get the dough off of your hands. You don’t want to lose the tackiness of the dough.
- Transfer to a large bowl coated with olive oil and knead the dough in the bowl so that the oil gets incorporated into the dough.
- Cover the bowl with plastic wrap and then a towel on top.
- Place in a warm over, around 100 degrees to proof. This process will take about 2 hours or until the dough has doubled in size.
- Once the dough has doubled in size split it into 2 halves and return one half back to the bowl, cover and set aside.
- Now divide the 1st half into 3 even pieces.
- Next start pulling and stretching each piece into a long rope to form the braid. Lay the ropes vertically and parallel on a flat surface Starting at the top lightly attache the 3 ropes in a triangle shape.
- Start braiding from right to left by taking the far right rope and crossing it over the middle rope. Try to keep the braid tight.
- Next, take the far left rope and cross it over the middle rope (like braiding hair!).
- Repeat until the entire braid is formed and tuck the ends underneath.
- Transfer the braid to a baking sheet lined with parchment paper and cover with a kitchen towel and set aside in a warm place.
- Repeat steps on the 2nd half of dough.
- Allow the braids to proof again for another 1-2 hours.
Egg wash:
- Whisk together in a small bowl. Using a brush, coat the braids with the egg wash.
- Optional: sesame seed and almond slices to garnish
Baking:
- Bake 1 loaf at a time in a preheated 350 degrees F oven for 20-30 minutes.
- Once the bread is golden brown remove from the oven and place on a rack to cool.
- Allow to cool completely before slicing
Notes
- You can freeze baked loaves to enjoy all year round
- There are many different variations on this recipe, some people use orange, cardamom, anise, vanilla and other spices and flavorings.
- This recipe was updated in April 2021